Amibroker Database Setting
With Velocity 2.0 you can connect your data feed to Amibroker using multiple methods of connection. One being the eSignal plugin method & the other being the Amibroker ADK method.
Explained below is the Amibroker ADK method to connect Amibroker to your data feed. If you are keen to use the Amibroker eSignal method to connect you can go here for the same. However, the recommended method is the Amibroker ADK method as listed below.
If you are using x64 bit Amibroker, then you need to download the Amibroker Plugin from C Drive >> Program File (x86) >> TrueData >> TrueData Velocity 2.0 >> x64 (Copy Both the files there and then paste them into Amibroker >> Plugin Files)
In case, you do not find the plugin file (TrueData RT Data plugin) when setting up the Amibroker Database, then you need to install...
(Microsoft Visual C++ 2010 Redistributable Package (x64), to resolve this issue.
Step 1
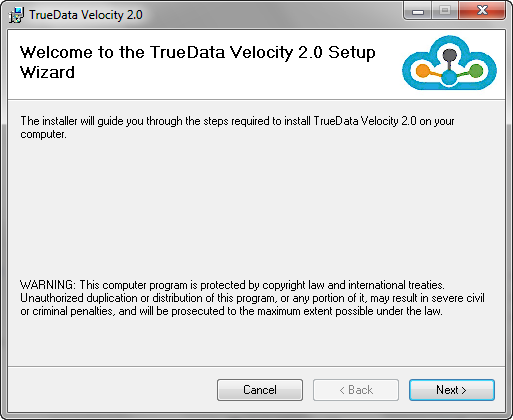
Uninstall any previous versions of Velocity & Install Velocity 2.0.
Step -2
Select the Amibroker Path (Please make sure that the Amibroker path is correct)

Before Starting the Amibroker configuration please give admin rights to both Amibroker and Velocity.
How to give Admin rights? >> Click Here
Step-3
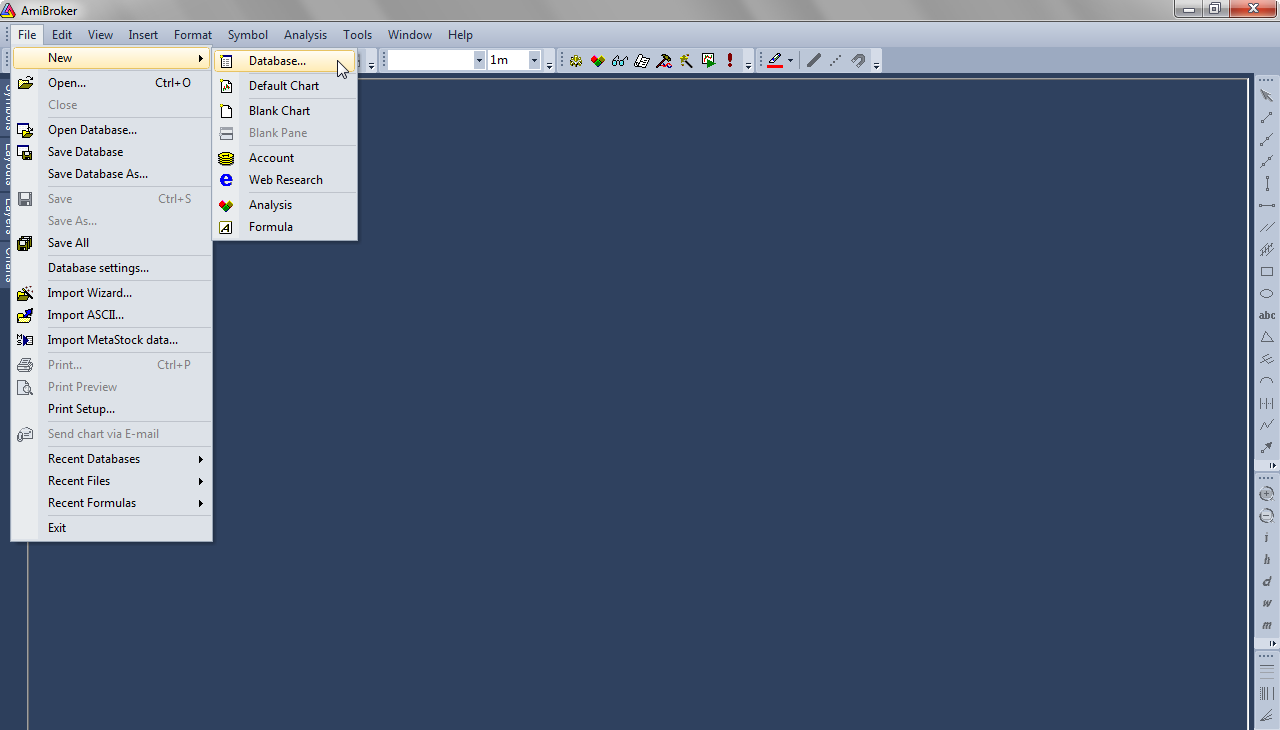
After successfully installing, please Open Amibroker and Go to the File >> New >>Database
Step-4
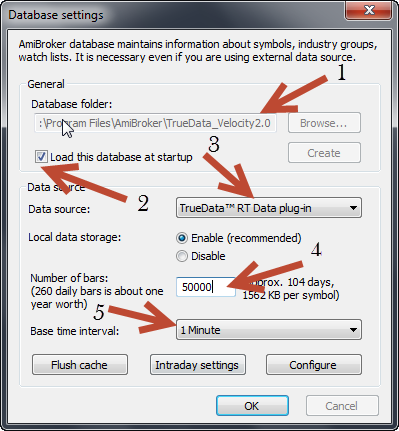
Set it up as shown in the Image, below.
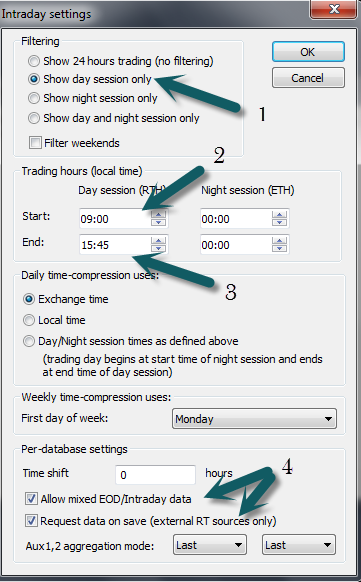
Now Go to the Intraday Settings and set it up as shown below. These settings are for those clients who wish to receive data of the NSE EQ and FnO segments.
Step 5:- Intraday Settings for MCX
If you have subscribed for MCX then the timings are different and the settings need to be as shown:-
.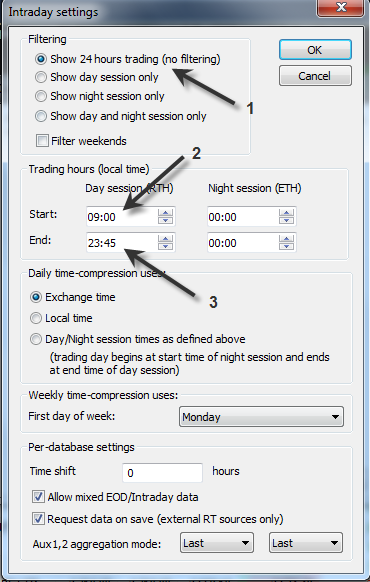
You can set the trading hours as 10:00 to 23:45 if you have subscribed for MCX alone.
Step-6
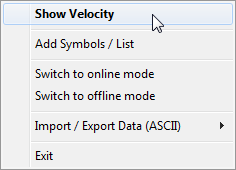
Now Save all and Open Velocity 2.0 (Right Click on Velocity Icon in the Taskbar and open it)
You should now be able to see the Control Panel of Velocity 2.0


